Antons Video Productions
4 Woolpack Street
Braemar 2575 Southern Highlands
NSW Australia
+61 2 418 626 417
Using Virtual Dub for downscaling EDIUS HD to PAL SD or NTSC SD with superb results
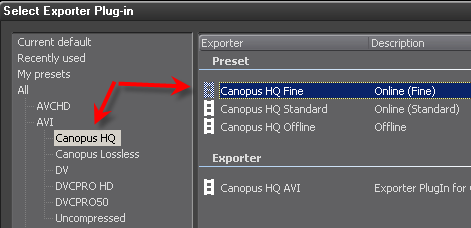
1. Export your EDIUS timeline to Canopus HQ Fine Quality. Be sure Edius project setting is set to Standard Color space conversion.
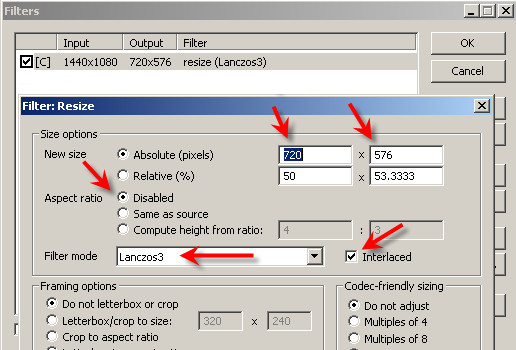
2. Open the HD 1440x1080i (interlaced) or 1920x1080i (interlaced) file and apply a resize filter and set as seen below, be sure to use the Lanczos3 downscale filter for sharpest results and interlaced must be ticked. If your file format is NTSC, type 720x480
Note: I have not tested with progressive source formats, in such a case, you may leave Interlaced unticked.
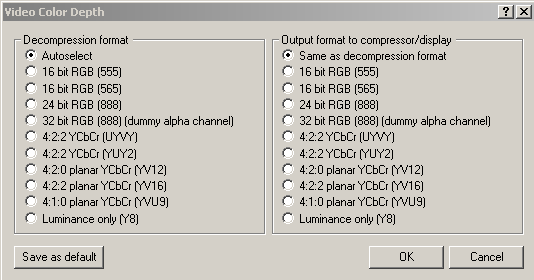
3. Set Color Depth handling as seen below
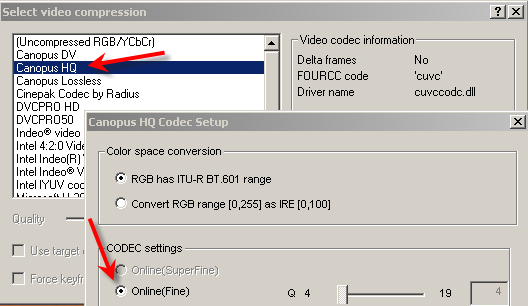
4. Choose Canopus HQ codec and set to Online (Fine) (smallest file size)
or choose Canopus Lossless (slightly better but larger file size)
or choose Uncompressed (slightly better again but very large file size)
5. Press F7 on the keyboard to start encoding
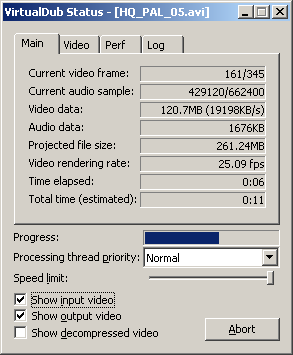
6. Start a new EDIUS SD project. If Pal, use 16:9 SD D1 if going to DVD (not DV)
if NTSC use 16:9 SD DVD if going to DVD (not DV and not D1)
Open the resulting clip in Edius and set field order to top field, Aspect to 16:9 and be sure Color Range for YCbCr is set to Super white in Edius5 application settings
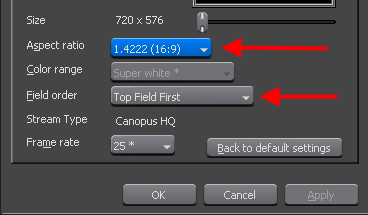
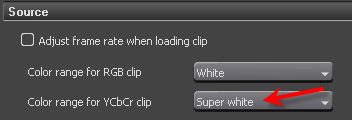
7. If it should look a bit soft, apply 8% sharpness filter in Edius and then export to DVD using built in tools like Print to DVD or Mpeg Exporter or ProCoder3 or export to a new HQ file and encode to DVD using TmpgEnc 4 Xpress
Back to more Video Editing Tips and Tricks